Thursday 19 March 2020

Just a note . . .

It's time for another challenge with us at the Southern Girls.

This fortnight Team Lou have created projects to inspire you for the new challenge


Our generous sponsors for this challenge are:

Krafters Cart


MoonFlower Digital Stamps


KLM Digital Designs

~~~*~~~*~~~

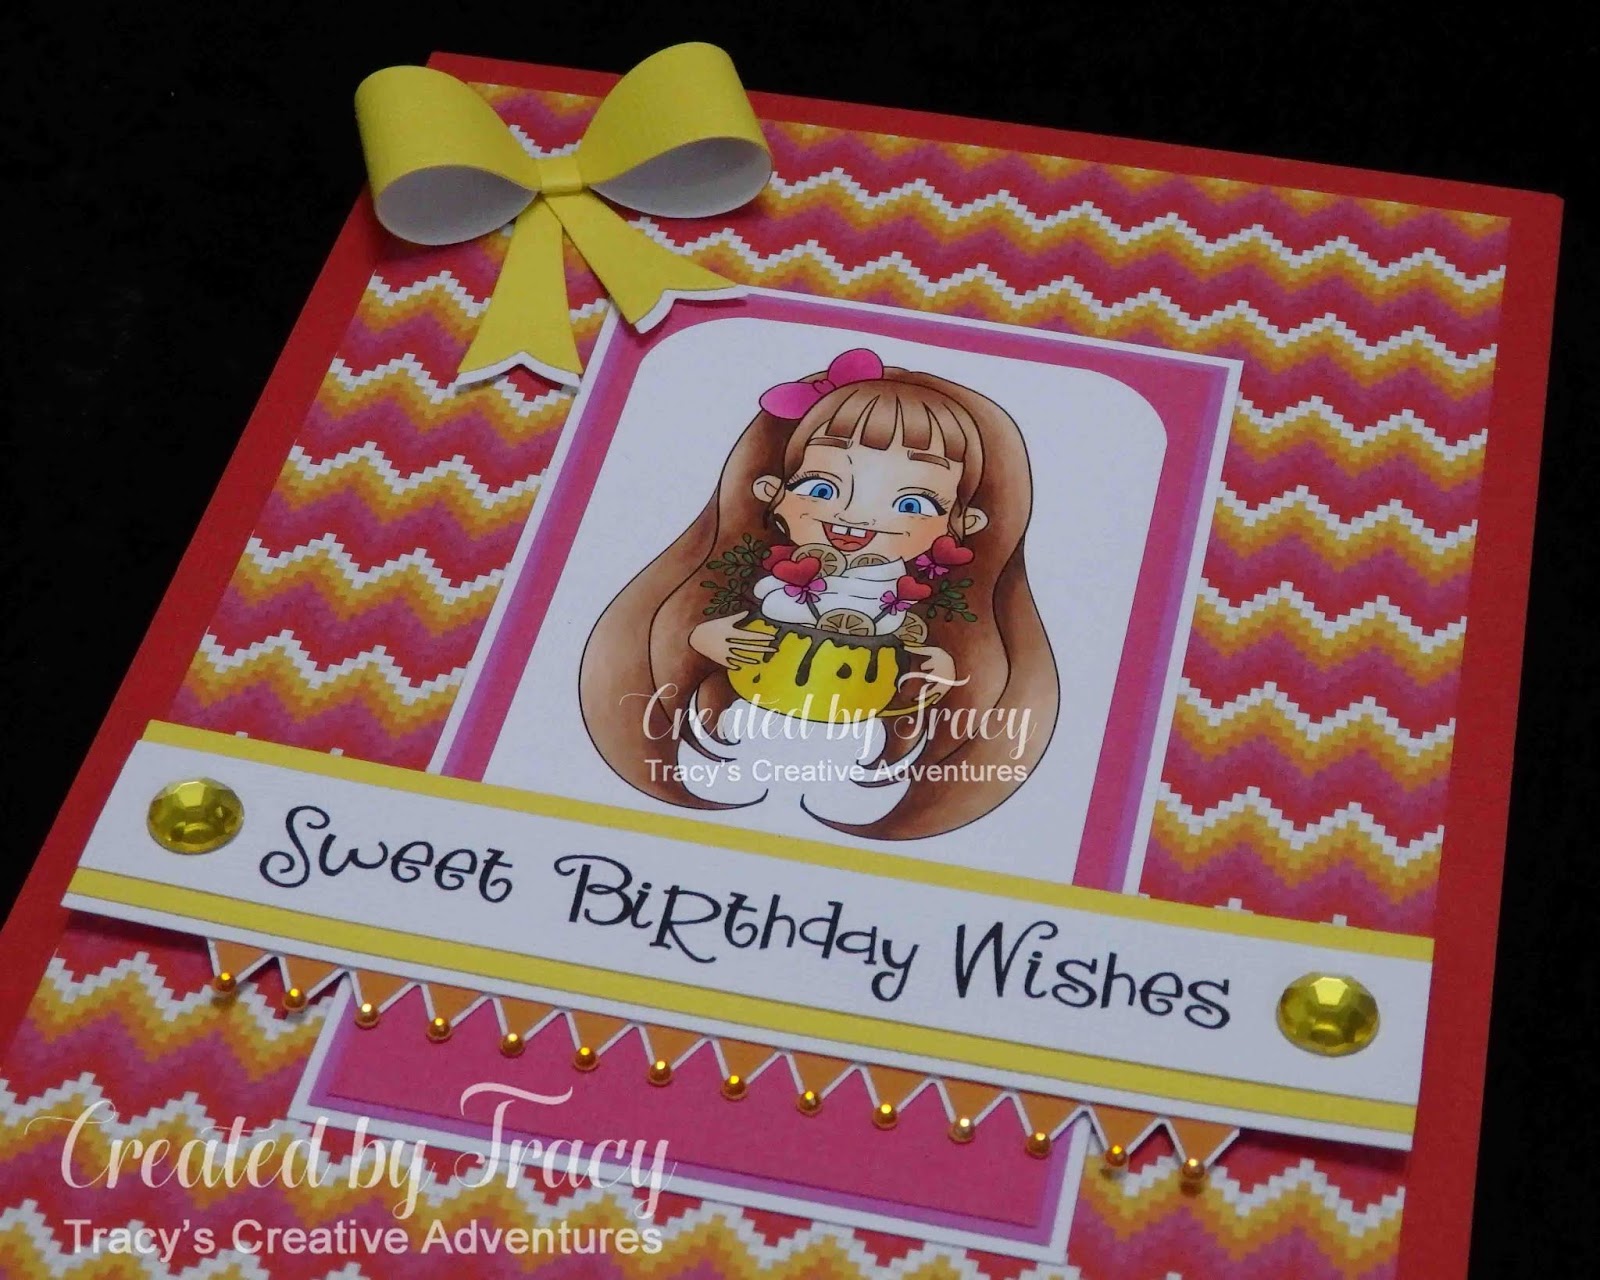
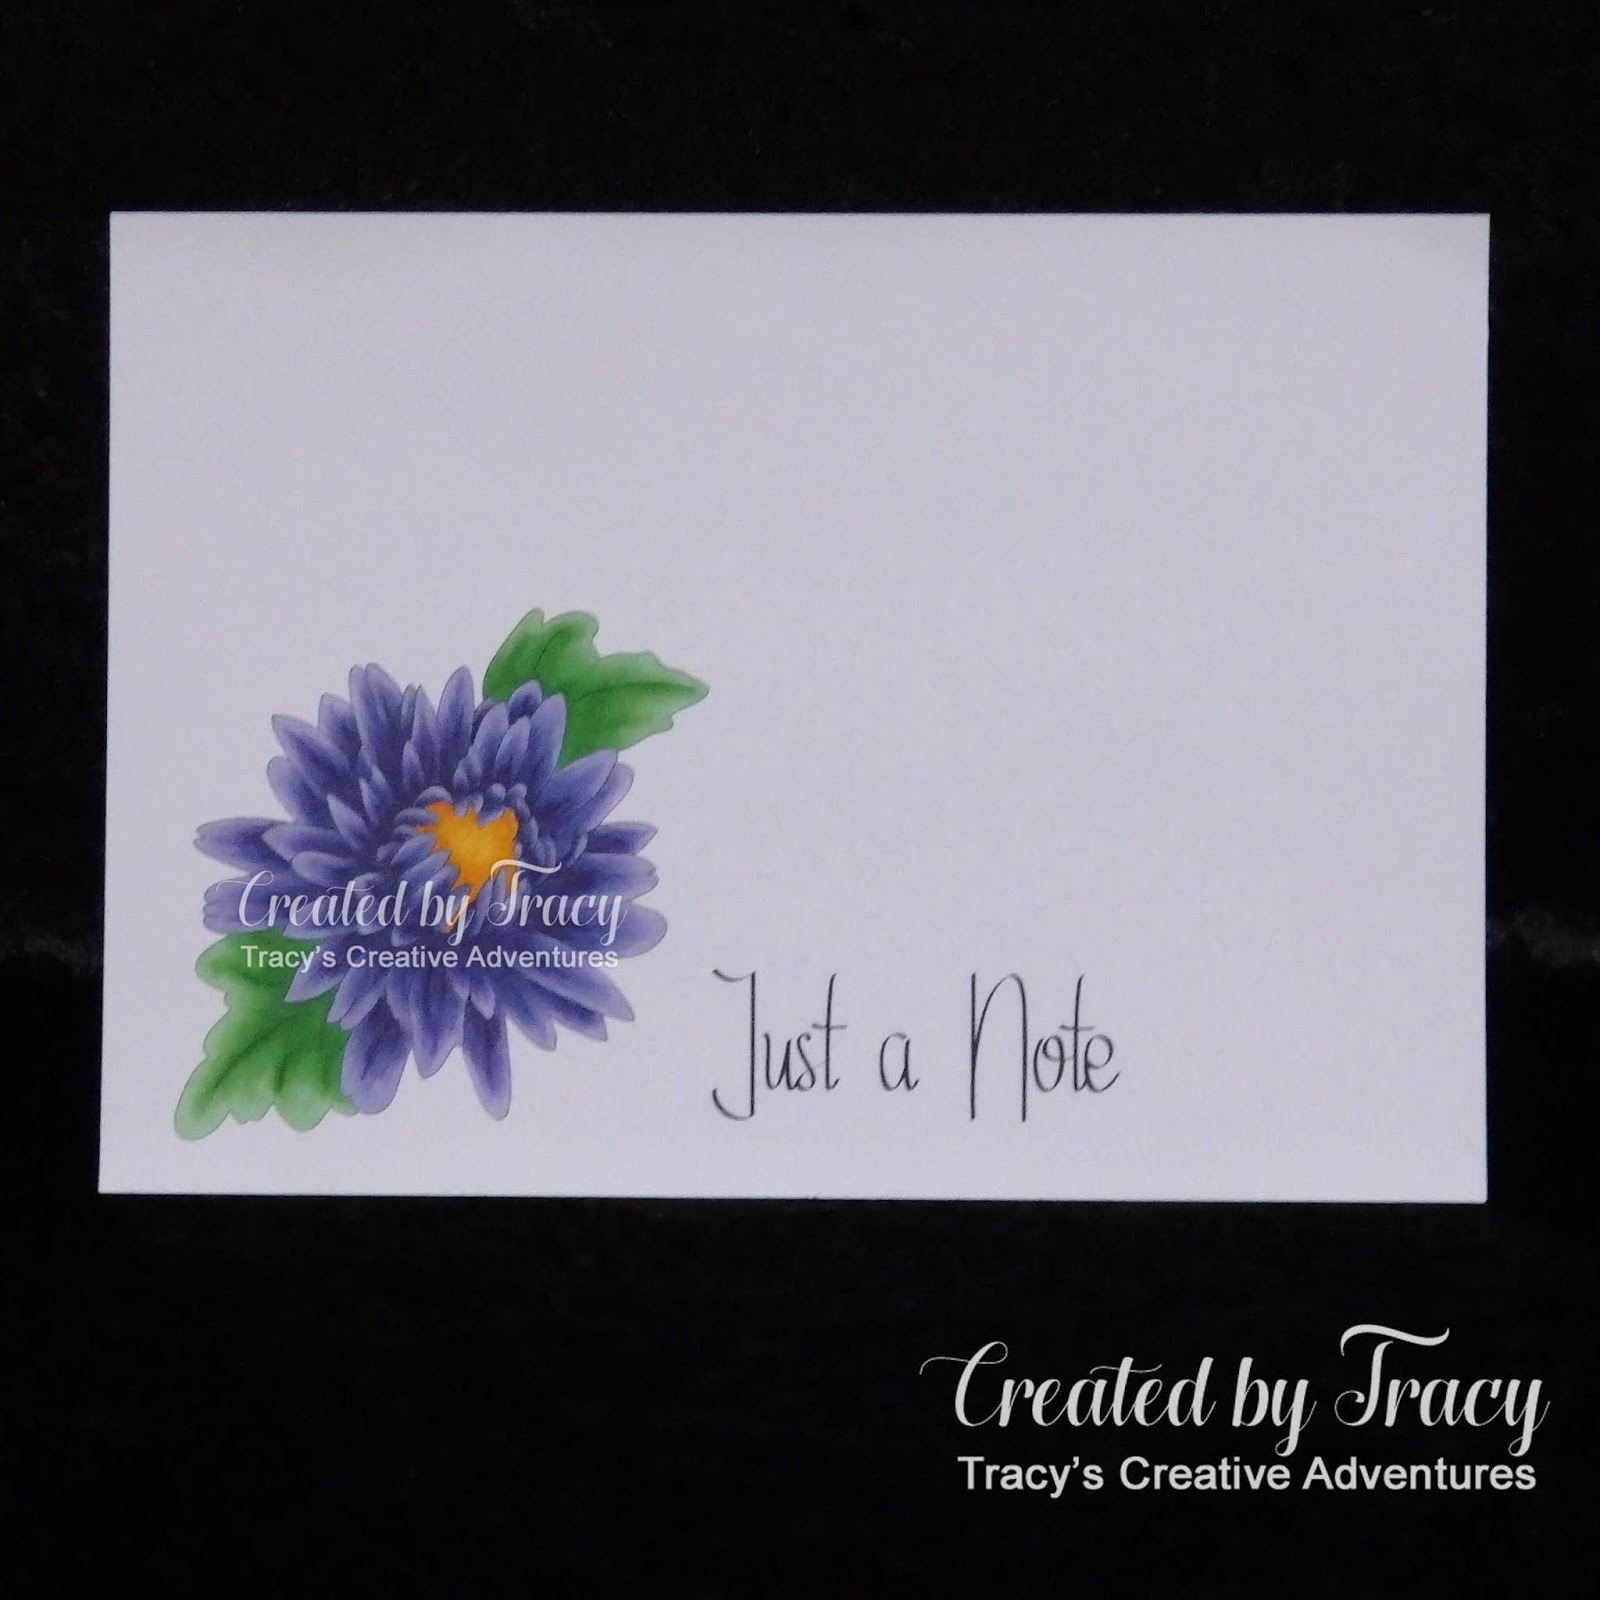
Today I have used the Mum & Sentiment digital stamp set by KLM Digital Designs, one of our generous sponsors this fortnight.  My CAS card is "just a note" to remind someone special that we're thinking of them.  Given the troubling times we're experiencing all over the world at the moment, I think I will be making a bundle more, a perfect way to share some love and to try some different marker blends.


I opened the Mum & Sentiment digital stamp in Silhouette Studio, sized and rotated to fit on a 5" x 7" card base.  The sentiment comes in the digital stamp set and it's such a fresh font.  I printed the card front panel on X-Press It blending card, heat set and coloured with Copic markers.  I trimmed the panel to size and adhere to a 5" x 7" card base.

It's hard to photograph purple shades ... I don't know if I'm the
only one, but they always seem to look blue in my photos.
In "real life" the petals are light mauve to deep purple shades.


I created a sentiment panel to put inside the card (font details below), printed and trimmed to size.  I trimmed another panel 4mm larger from smooth white cardstock and used the BV04 Copic marker to colour the outer edges to make a contrasting matting panel.  I used liquid adhesive to adhere the matting and sentiment panels inside.


~~~*~~~*~~~
NOW it's YOUR turn!

I hope that I have inspired you to get creative
and look forward to seeing your projects fill the gallery for

~~~*~~~*~~~
*** INGREDIENTS ***

Copic markers - petals - BV01-02-04-08
Copic markers - flower centre - Y35-38 + YR23-24
Copic markers - leaves - G12-14-07
smooth white cardstock for card base
Australian Script - font used to create the sentiment
This font is available HERE at Font Bundles.  I was lucky to have received this font as a freebie several years ago.  I suggest that you visit their store, as apart from selling a huge variety of fonts, they offer free fonts each week too.
Helmar 450 Quick Dry adhesive - to adhere the layers

~~~*~~~*~~~

Sending a big Thank You to KLM Digital Designs for sponsoring our

I hope I have inspired you to get creative and look forward to seeing your work shared in the challenge gallery.  
Remember we are not just a card blog, we love to see scrapbook layouts, artjournal pages and all types of papercraft.

~~~*~~~*~~~
I am going to enter my card in the following challenges:

Relax, it's your birthday

It's time for a new challenge with us on the

Penny's Challenge 467
As always, the challenge is Anything Goes.

~~~*~~~*~~~

The sponsors for this challenge are:


SheepSki Designs


~~~*~~~*~~~

Today I have used the My Pad digital stamp from SheepSki Designs, one of our generous sponsors for this challenge, to make a fun birthday card.


I opened the image in Silhouette Studio and sized it to 3 1/2" to fit in the 4" oval.  I printed the image on X-Press It blending card, heat set, coloured with Copic markers and die cut to size.  I scored a panel of cardstock and offset the largest stitched scalloped oval die over the fold then die cut to create the card base.  I die cut another full panel from the same cardstock, scored halfway down the "front" of the card base and adhered the full panel to the lower half of the front panel to create the easel card.  I die cut several matting layers for the front and inside of the card, adhering them and the image panel in place with liquid adhesive.  This is where I confess that I had to do a double-take, as some of the adhesive oozed through the stitches and looked pretty horrible, so I quickly pulled it off, cut another panel and was more strategic with how much and where I put the adhesive.  I created a sentiment using a combination of fonts, printed, trimmed to size, matted with cardstock then trimmed to size using a 1/16" Perfect Layers Ruler.  I adhered the sentiment in place with foam squares inside the card so that it provided a little ledge for the card front to prop against for the easel fold.


Easel fold cards are surprisingly easy to make and are such a fun fold,
they pop up for a pretty display and fold flat for mailing.


~~~*~~~*~~~

NOW it's YOUR turn!

I hope that I have inspired you to get creative
and look forward to seeing your projects fill the gallery for
Penny's Challenge 467
on the
Penny's Paper-Crafty Challenge Blog

~~~*~~~*~~~

*** INGREDIENTS ***
SheepSki Designs - digital stamp - My Pad
X-Press It A4 Blending Card
Copic markers - frog - Y02-06 + YG00-01-03-17
Copic markers - frog eyes - YR65-68-09
Copic markers - lily - RV00-02-04
Copic markers - lily pad - YG03-25-17-67
Copic markers - water - BG0000-000-70-72
Copic markers - sky - BG0000-000 + "0"
Sizzix Big Shot
Kaisercraft - decorative dies - nesting ovals
Kaisercraft - decorative dies - stitched scalloped nesting ovals
scoreboard and bone folder
Helmar 450 Quick Dry adhesive - to adhere the layers
foam to pop the sentiment

~~~*~~~*~~~
Sending a big Thank You to SheepSki Designs for supplying the digital stamp I used today and for being a sponsor for Challenge 467 on Penny's Paper-Crafty Challenge Blog.
    
~~~*~~~*~~~
I am going to enter my card in the following challenges:
~~~*~~~*~~~

2 Crafty Critter Crazies - Challenge #36 – Anything with a Critter Goes

A Gem Of A Challenge - Wk 5 – Anything Goes
A Perfect Time To Craft - March Challenge – Anything Goes
AAA Birthday Card Challenge - Game #11 – Flowers

Cardz 4 Galz - Challenge #117 – Spring Flowers
Colour Crazy Challenge - Week 9 – Anything Goes
Crafty Calendar Challenge - More Than One Fold
Crafty Catz - Challenge #497 – Anything Goes optional: Boys and their toys
Crafty Friends Challenge Blog - Challenge 131 – Ladies / Girls
Crafty Sentiments Designs Challenge Blog - Spring Is Coming
Creatalicious Challenges - Challenge 183 – Anything Goes optional Layer It Up
Double D Challenges - Welcome Spring
nothing says Spring better than a pretty pink waterlily

Jan’s Digi Stamps Challenge Blog - Challenge #10 – Anything Goes
SheepSki Designs Challenges - Challenge #36 – Die Cuts and/or Punches
Simply Create Too - Challenge #158 – Shaped Card
Through The Craft Room Door - TTCRD Anything Goes 17th Mar
Time Out Challenges -  Birthday optional twist: die cutting / fussy cutting


Wednesday 18 March 2020

Flowers at the Crafty Gals Corner

It's time for another challenge with us at the

This month we are letting our creative juices flow with
Crafty Gals Corner Challenges are monthly.
Each crafter may only submit 3 projects per challenge.

~~~*~~~*~~~

The generous sponsor for this challenge is:
Digi Doodle Studios
Prize ~ 3 Digi Stamps

~~~*~~~*~~~

Today I have used the Briar Berry Spry Fairy digital stamp from Digi Doodle Studios, our generous sponsor this month, to make a birthday card filled with magic.


This large A5 card started in Silhouette Studio, where I sized the image to 3 1/2" to fit inside a 4 3/8" nesting oval die.  I printed the image on X-Press It blending card, heat set, coloured with Copic markers then die cut.  I die cut a contrasting 4 3/4" scalloped stitched oval panel and adhered it to the back of the image panel.  I matted an A5 top folding card base with cardstock then added a panel of patterned paper.  Next I pulled out my iron, YES, my IRON, I know!  Do you remember what they are?  I ironed a strip of crochet lace as it was a bit bent on the spool.  I cut another contrasting panel of cardstock and adhered the lace to the top, then adhered the panel to the bottom of the card.  Next I adhered the matted image panel in place with a combination of foam squares and liquid adhesive.  I used a combination of squeeze and lever punches to punch bundles of flowers from coordinating cardstock, curling and layering them together, finishing each one off with a sparkling yellow rhinestone.  This is where I should mention that I have run out of yellow bling, luckily I still have some sparkling clear ones, so I coloured them with my Y38 Copic marker.  I used a combination of foam circles and liquid adhesive to adhere the flowers around the image panel.


It's an unusual colour combo to me but I am thrilled with how pretty they look together and I hope they make you feel happy too.


Lots of colours, textures, dimension and sparkle to add
some magic and make for an extra special birthday.


~~~*~~~*~~~


NOW it's YOUR turn!

I hope that I have inspired you to get creative
and look forward to seeing your projects fill the gallery for
Crafty Gals Corner Challenges are monthly.
Each crafter may only submit 3 projects per challenge.

~~~*~~~*~~~

*** INGREDIENTS ***
Digi Doodle Studios - digital stamp - Briar Berry Spry Fairy
Copic markers - skin - E0000-000-00-02
Copic markers - lips / mouth - V06 + E13 + R17
Copic markers - hair - BG10-11-23-49
Copic markers - flower in hair - V01-13-06 + Y08
Copic markers - wings - V01-06 + Y08 + RV13-14
Copic markers - wand / handle - Y00-04-06-08 + E13-15
Copic markers - dress - RV13-14-02
Copic markers - shoes - V01-12-06
Copic markers - mushroom cap - Y18-17 + YR16-18 + R08
Copic markers - stem and spots - W0-1-3-5
assorted 12 x 12 weave/textured cardstock
Kaisercrate 12 x 12 patterned paper - Paisley Days Collection - Retro
Sizzix Big Shot
Kaisercraft - decorative dies - nesting ovals
Kaisercraft - decorative dies - nesting stitched scalloped ovals
rhinestones - clear coloured yellow using Copic marker Y38
Helmar 450 Quick Dry adhesive - to adhere the layers
Tombow Mono Multi Liquid Adhesive - to adhere the flowers
foam circles and foam squares

~~~*~~~*~~~
Sending a big Thank You to Digi Doodle Studios for supplying the digital stamp I used today and for being a sponsor for Challenge #205 at the Crafty Gals Corner.
    
~~~*~~~*~~~
I am going to enter my card in the following challenges:
~~~*~~~*~~~


Monday 16 March 2020

Sweet Birthday Wishes

Today I am thrilled to be
Guest Designer
on the
for the mid-challenge reminder post for the
March 2020 - Challenge #03
click on the link above to see the reminder post projects, including mine
click on the image below to go the the first challenge post


~~~*~~~*~~~

The sponsors for this challenge are:
   
Little Blue Button Stamps             Hetty Clare
~~~*~~~*~~~

Today I have used the Sweet Tooth digital stamp from Little Blue Button Stamps,
one of our generous sponsors, to make a big A5 birthday card.


I printed the image on X-Press It blending card, heat set, trimmed to size (2 1/2" x 4 1/4") then coloured with Copic markers.  I used a fancy font to create the sentiment, printed on textured cardstock, trimmed to size and matted with yellow and white cardstock.  I used two A5 panels of heavy smooth white cardstock to make the top folding card base, scoring the back panel 1" from the top and used liquid adhesive to secure them together.  I matted the card front with crimson cardstock and added a panel of pretty patterned paper.  I used a corner rounding squeeze punch to round the top corners of the image panel and matted the panel with several different colours to match the patterned paper.  I decided to add a fun border to the sentiment panel and used an old favourite border punch.  I punched a white and orange strip, snipped the round ends off the white panel and adhered it under the orange strip with an offset to give it more contrast.  I adhered the matted image and sentiment panels in place and finished them off with some sparkling rhinestones.

Click on the images to see the detail in full screen


Lucky last came the dimensional bow.  I die cut the pieces twice, curved the loops, adhered the white inside the yellow then assembled, securing in place on the front of the card with liquid adhesive.  This was my first time "lining" a bow and I am thrilled with how it turned out, almost like a double-sided ribbon.


NOW it's YOUR turn!

I hope that I have inspired you to get creative
and look forward to seeing your projects fill the gallery for
March 2020 - Challenge #03

~~~*~~~*~~~

*** INGREDIENTS ***
Little Blue Button Stamps digital stamp - Sweet Tooth
Copic markers - skin - E0000-000-00-02
Copic markers - mouth & tongue - E13 + R14-17
Copic markers - eyes - B02-04
Copic markers - hair - E11-13-15-18 + bow - RV04-06-09
Copic markers - mug - Y06-08-18
Copic markers - dripping hot chocolate - E74-77-79
Copic markers - flowers - cream - E40-41
Copic markers - treats:
cherry & heart - R35-37-39 + bows - RV04-06-09
wafers - E30-31-33-35 + foliage - G07
Silhouette Design Store - sentiment font - Design ID #261611
ZP Macaroni Salad by ScrapNfonts
Fiskars squeeze punch - corner rounder
Fiskars border punch - Jenni Bowlin - Jester
smooth A5 white cardstock - 2 sheets to make the card base
scoreboard and embossing stylus - to make the card base
assorted textured/weave cardstock
Kaisercraft 12 x 12 patterned paper - Fiesta Collection - Jalapeno
Sizzix Big Shot
Winnie & Walter - Take A Bow Cutaways (no longer available)
assorted rhinestones
Helmar Acid Free Professional Glue - to adhere the top fold
Helmar 450 Quick Dry adhesive - to adhere the layers
Tombow Mono Multi Liquid Adhesive - to adhere the bow
foam squares - to adhere the sentiment panel

~~~*~~~*~~~
Sending a big Thank You to Little Blue Button Stamps for supplying the digital stamp I used today and to Claudia for inviting me to be Guest Designer on the Rabisco Challenge Blog.
    
~~~*~~~*~~~
I am going to enter my card in the following challenges (alphabetical order):

Sunday 15 March 2020

Carrot Treats for Easter

It's time for a new challenge with us on the

As always, the challenge is Anything Goes.
Three to five random winners are drawn and
each get to choose 3 set of papers from the Paper Pick Tab

~~~*~~~*~~~

Today I have used the Micro Dots digital paper by Lozzy at A Bit More Time To Craft to make a fun carrot shaped treat box for Easter.


Easter is only a few weeks away now and this is the first of many treat boxes to be made this year.  Luckily my husband added some tasty Cadbury chocolate eggs to the trolley the last time he went shopping.  The Giant Easter Egg Tube has 20 (17 gram) eggs inside, with ten fitting comfortably inside the carrot.


Anyway, I had better get back on track and tell you a little more about this "not-so-little" Easter treat.  This was the first time I have used both the Micro Dots digital papers and this cut file.  I opened them all in Silhouette Studio and started planning.  I decided to make the carrot treat box (details & link below) in the size that it was supplied/opened in.  The largest matting panel for the carrot box base is over 4.9" tall, so I sized the digital papers to 5 1/2” square so that all the pieces have the same size pattern.    I added an offset to the leaves so that I could mat them with a matching paper.  The carrot leaves  are two panels overlapping on the middle fold.

The BEST thing about digital papers is first that you can NEVER run out of your favourite designs.  The next best thing is that you can size them to suit any project you want to create.  Another best thing is that you can print them on a variety of media, including my favourites of smooth cardstock, textured cardstock and vellum.  I confess that I often go into INK SAVER mode!  I crop the edges of the paper around the outer edge of the cut lines.  This ensures the pattern goes right to the edge of the cut piece ... and there is no wasted ink / print areas.


I cut the panels to make the box base, lid and leaves then printed and cut the matting panels.  I scored all the folds and assembled the box and lid using liquid adhesive.  At this stage I was relieved that I did not reduce the size of this project, as it was pretty fiddly securing them all in place.  I inked the all the joins and matting panels then adhered the matting panels to the carrot box base and lid.


After lots of printing, cutting, folding and adhering,
here is the front and back view of the carrot treat box.
It stands thirteen (yes, 13) inches tall, the box is 7 1/2", the leaves 5 1/2"
and I think it looks pretty from all sides.


Although it has pretty leaves on top,
I finished off the carrot with a HUGE 7" triple bow.
Now is a good time to say it again, I love my Bow-It-All.
I used wired ribbon and the loops fluffed up wonderfully.


... and one last back view to share ...


~~~*~~~*~~~


NOW it's YOUR turn!

I hope that I have inspired you to get creative
and look forward to seeing your projects fill the gallery for
Challenge 112
on the
A Bit More Time To Craft Challenge Blog

~~~*~~~*~~~

*** INGREDIENTS ***
A Bit More Time To Craft - digital paper - Micro Dots
(it's the 112th set in the Paper Picks section and has 55 different colours,
it's nearly at the end, so easier to start at the end and scroll up to find it)
My Scrap Chick - cut file - Carrot Box
Silhouette Cameo
smooth white "letter" sized cardstock
12 x 12 textured cardstock
 Bow It All
wired ribbon
Helmar 450 Quick Dry adhesive - to adhere the layers & flowers
Tombow Mono Multi Liquid Adhesive - to adhere the folds

~~~*~~~*~~~
Sending a big Thank You to Lozzy from A Bit More Time To Craft
for supplying the digital paper I have used today.
    
~~~*~~~*~~~
I am going to enter my card in the following challenges:
~~~*~~~*~~~

Allsorts Challenge Blog - Challenge 563 – Lots Of Dots

I have used Micro Dots patterned paper on the carrot treat box and leaves, that's lots of dots
Alphabet Challenge Blog - Y is for Something For The Youngsters
As You Like It Challenge - Favourite: Spring or Easter & Why

My favourite is Easter because we get to have extra fun times with our family and all our little neighbours too.  Also, Easter is coming soon, many months before we get to enjoy Spring Down Under.
Crafty Calendar Challenge - More Than One Fold

My carrot treat box, lid and leaves have a gazillion folds and glue tabs.
Creative Fingers Challenge Blog - Challenge #181 – Anything Goes
Cut It Up Challenge Blog - Challenge 195 – Green With Envy
Simon Says Stamp Wednesday Challenge Blog - Simon Says: Use Some Green
Sparkles Monthly Challenges - Challenge #126 – Easter