Showing posts with label Winnie & Walter. Show all posts

Wednesday, 14 October 2020

Halloween Colours

 It's time for another challenge with us at the


This month we are letting our creative juices flow with
Crafty Gals Corner Challenges are monthly.
Each crafter may only submit 3 projects per challenge.

~~~*~~~*~~~

The sponsors for this challenge are:

Prize ~ $10 Gift Certificate

Prize ~ 2 Digital Images

Prize ~ 3 Single Digital Images

~~~*~~~*~~~


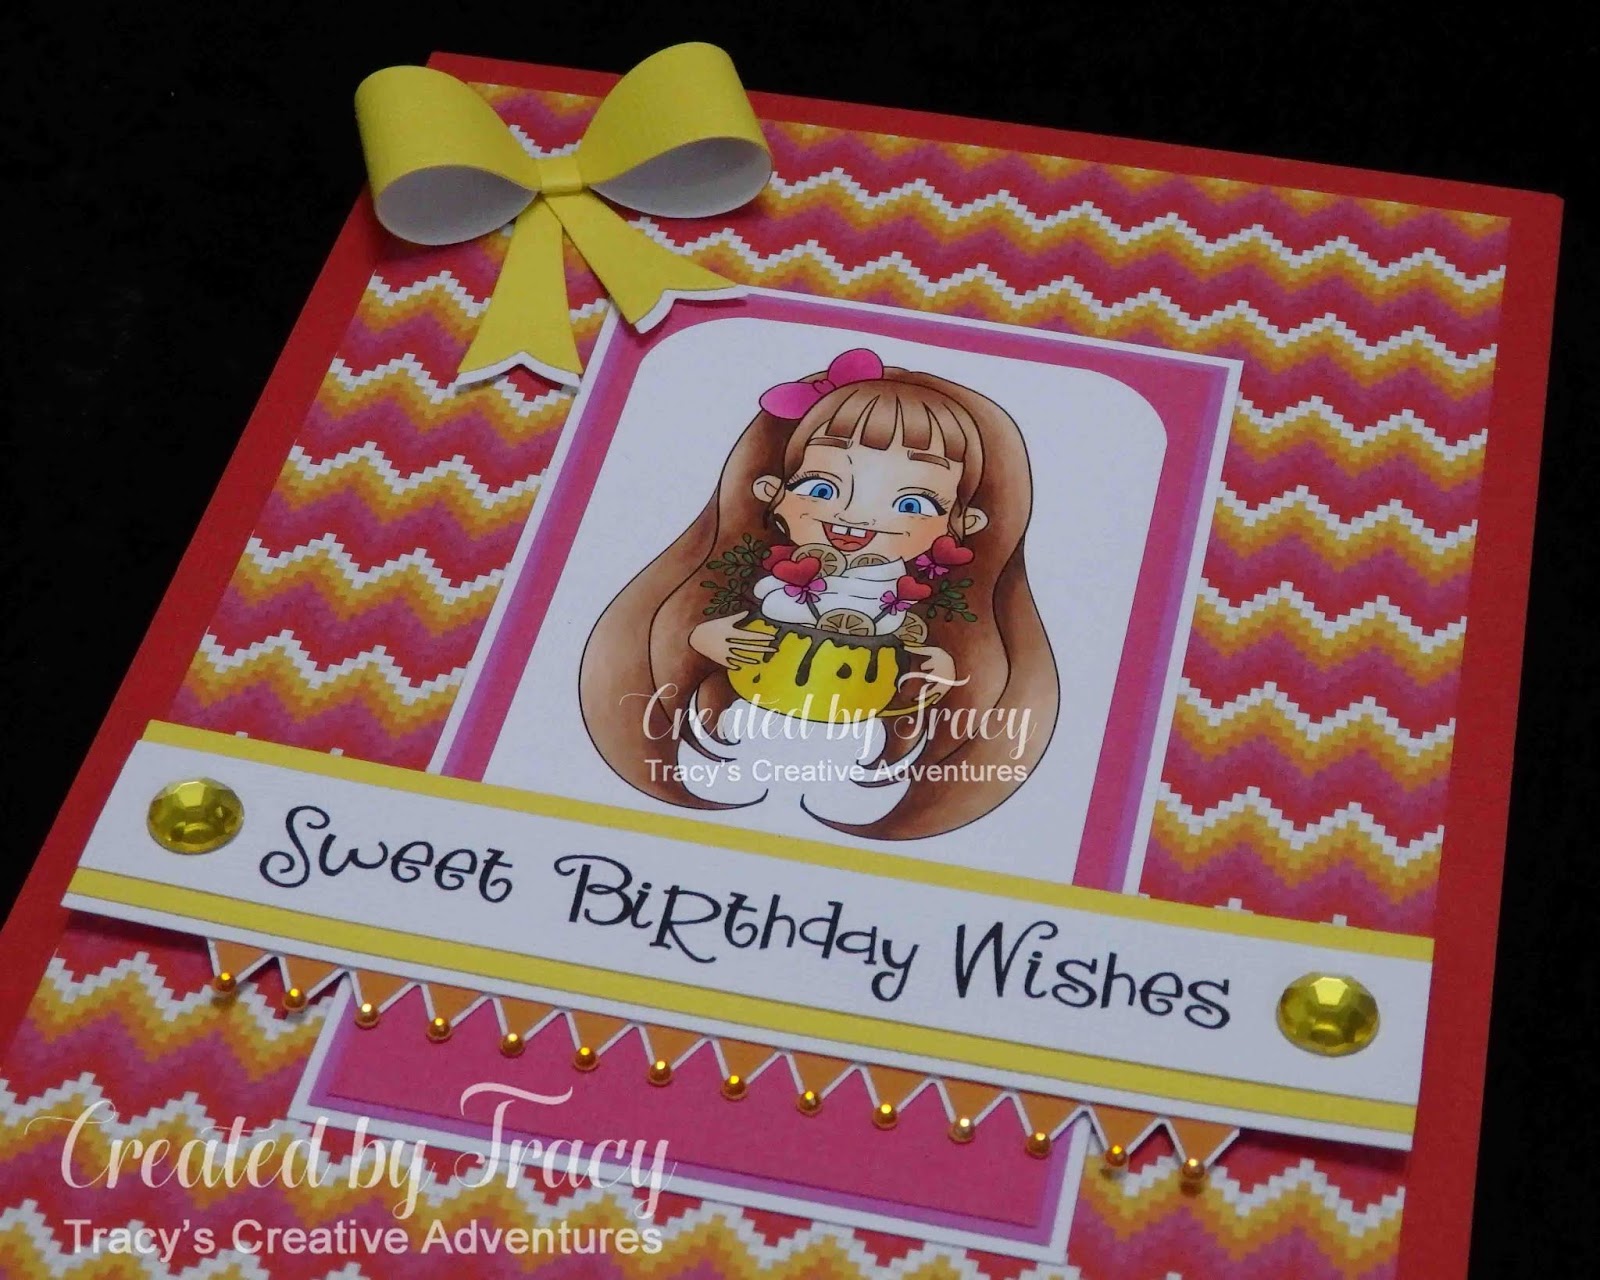
Today I have used the Flower Square digital stamp from Ike's Art,
one of our generous sponsors this month.


This is such a pretty panel filled with flowers and lovely "leadlight" segments that I decided to create an "eclipse" sentiment.  I printed the image on X-Press It blending card, heat set, trimmed to size and coloured with Copic markers.  I layered some release paper over the image panel and used my Sizzix Big Shot to die cut a large sentiment from the panel.  I used the same die to cut five black sentiments.  I made a top folding card base and adhered the image panel in place.  I adhered one of the black sentiments into the negative space on the card front the adhered the middle of the coloured "o" and "e" in place.  I layered the other four black sentiment die cuts together, topping it with the coloured piece then adhered the thick layer onto the front of the card.


When you first look at the card it looks like a solid panel but when you look at it at a slight angle, the extra layers make the "love" pop.


~~~*~~~*~~~

NOW it's YOUR turn!
I hope that I have inspired you to get creative
and look forward to seeing your projects fill the gallery for
Crafty Gals Corner Challenges are monthly.
Each crafter may only submit 3 projects per challenge.

~~~*~~~*~~~

*** INGREDIENTS ***
Ike's Art - digital stamp - Flower Square
Copic markers - green - YG63-67
Copic markers - orange - 04-07
Copic markers - purple - BV02-04
Copic markers - yellow - Y06-08
Copic markers - black - "100"
Sizzix Big Shot
Winnie & Walter - In A Word - LOVE die
Helmar 450 Quick Dry adhesive - to adhere the image panel
Tombow Mono Multi Liquid Adhesive - to adhere the sentiment layers

~~~*~~~*~~~
Sending a big Thank You to Ike's Art for supplying the digital stamp I used today and for being a sponsor for Challenge #212 at the Crafty Gals Corner.
    
~~~*~~~*~~~

2020 has been filled with lots of surprising challenges and sadly I have to announce that this is my last project with the talented team at the Crafty Gals Corner.  It has been a wonderful experience being part of this Design Team, I have appreciated the opportunity to create with you all and wish you all every happiness for the future.  Thank You for all the fun and creative adventures.

Monday, 16 March 2020

Sweet Birthday Wishes

Today I am thrilled to be
Guest Designer
on the
for the mid-challenge reminder post for the
March 2020 - Challenge #03
click on the link above to see the reminder post projects, including mine
click on the image below to go the the first challenge post


~~~*~~~*~~~

The sponsors for this challenge are:
   
Little Blue Button Stamps             Hetty Clare
~~~*~~~*~~~

Today I have used the Sweet Tooth digital stamp from Little Blue Button Stamps,
one of our generous sponsors, to make a big A5 birthday card.


I printed the image on X-Press It blending card, heat set, trimmed to size (2 1/2" x 4 1/4") then coloured with Copic markers.  I used a fancy font to create the sentiment, printed on textured cardstock, trimmed to size and matted with yellow and white cardstock.  I used two A5 panels of heavy smooth white cardstock to make the top folding card base, scoring the back panel 1" from the top and used liquid adhesive to secure them together.  I matted the card front with crimson cardstock and added a panel of pretty patterned paper.  I used a corner rounding squeeze punch to round the top corners of the image panel and matted the panel with several different colours to match the patterned paper.  I decided to add a fun border to the sentiment panel and used an old favourite border punch.  I punched a white and orange strip, snipped the round ends off the white panel and adhered it under the orange strip with an offset to give it more contrast.  I adhered the matted image and sentiment panels in place and finished them off with some sparkling rhinestones.

Click on the images to see the detail in full screen


Lucky last came the dimensional bow.  I die cut the pieces twice, curved the loops, adhered the white inside the yellow then assembled, securing in place on the front of the card with liquid adhesive.  This was my first time "lining" a bow and I am thrilled with how it turned out, almost like a double-sided ribbon.


NOW it's YOUR turn!

I hope that I have inspired you to get creative
and look forward to seeing your projects fill the gallery for
March 2020 - Challenge #03

~~~*~~~*~~~

*** INGREDIENTS ***
Little Blue Button Stamps digital stamp - Sweet Tooth
Copic markers - skin - E0000-000-00-02
Copic markers - mouth & tongue - E13 + R14-17
Copic markers - eyes - B02-04
Copic markers - hair - E11-13-15-18 + bow - RV04-06-09
Copic markers - mug - Y06-08-18
Copic markers - dripping hot chocolate - E74-77-79
Copic markers - flowers - cream - E40-41
Copic markers - treats:
cherry & heart - R35-37-39 + bows - RV04-06-09
wafers - E30-31-33-35 + foliage - G07
Silhouette Design Store - sentiment font - Design ID #261611
ZP Macaroni Salad by ScrapNfonts
Fiskars squeeze punch - corner rounder
Fiskars border punch - Jenni Bowlin - Jester
smooth A5 white cardstock - 2 sheets to make the card base
scoreboard and embossing stylus - to make the card base
assorted textured/weave cardstock
Kaisercraft 12 x 12 patterned paper - Fiesta Collection - Jalapeno
Sizzix Big Shot
Winnie & Walter - Take A Bow Cutaways (no longer available)
assorted rhinestones
Helmar Acid Free Professional Glue - to adhere the top fold
Helmar 450 Quick Dry adhesive - to adhere the layers
Tombow Mono Multi Liquid Adhesive - to adhere the bow
foam squares - to adhere the sentiment panel

~~~*~~~*~~~
Sending a big Thank You to Little Blue Button Stamps for supplying the digital stamp I used today and to Claudia for inviting me to be Guest Designer on the Rabisco Challenge Blog.
    
~~~*~~~*~~~
I am going to enter my card in the following challenges (alphabetical order):

Monday, 30 September 2019

Warm { caffeinated } Hugs

We all have at least one coffee lover in our family, I confess, I'm one and my sister is too, so what better way to send comforting hugs than with a bundle of coffee beans?


I started with some smooth brown cardstock, a coffee bean background stamp (details & link below), some Espresso Truffle ink and my MISTI, then gave them an inky workout.  This stamp is a new one, so it took a few inkings to get a good even coverage and it was very handing having my MISTI to repeat stamp the image perfectly.  I trimmed the image panel down to 5 3/4" square.


I die cut the letters (warm) and hugs sentiment (details & links below) several times using the same brown cardstock.  I inked one set to make the top layer of my "warm hugs" sentiment.  I layered the sentiment together to give an offset dimension and contrast then adhered them in place on the stamped panel.  Unfortunately they didn't contrast as much as I expected, so I added a delicate golden sparkle with a Wink Of Stella glitter brush, it's still subtle but much better in real life.  It sure is hard to photograph though, that glitter catches the light and sparkles.


~~~*~~~*~~~


Hope you have a
HAPPY National Coffee Day!

~~~*~~~*~~~

*** INGREDIENTS ***
Picket Fence Studios - background stamp - Give Me A Break
MISTI stamping tool
Memento ink pad - Espresso Truffle
smooth brown cardstock
heavy smooth white cardstock - card base
Sizzix Big Shot
Winnie & Walter - In A Word: Hugs Cutaway
Kaisercraft - Decorative Die - Handwritten Alphabet
Wink Of Stella - glitter brush - Clear
Helmar 450 Quick Dry adhesive - to adhere the image panel
Tombow Mono Multi Liquid Adhesive - to adhere the sentiment die cuts

~~~*~~~*~~~
I am going to enter my card in the following challenges:

Tuesday, 2 July 2019

CAS sparkling stripes

No stamping from me today, just CAS cards with lots of sparkle.


I have used Double Sided tape and Micro Fine Glitter from X-Press It to make the sparkling striped corners.  The tapes are 3mm, 6mm and 12mm wide and I spaced each strip 2mm apart on 5" x 7" card bases.  I smothered the tape with glitter then burnished it before brushing the excess away.  I die cut the "happy" and "birthday" sentiment.  The birthday die comes with a backing layer and the white makes the black word contrast even more against the glitter strips of the background.

First up is the vibrant Fuchsia card.


... and here is the elegant Silver card.


Here is another sparkling card that I made using the luscious 3mm, 12mm and 25mm X-Press It Glitter Tapes.  Click HERE on on the image below if you would like to learn more about it.


~~~*~~~*~~~

*** INGREDIENTS ***
Tombow Mono Multi Liquid Adhesive - to adhere the sentiments

~~~*~~~*~~~
I am going to enter my card in the following challenges:
~~~*~~~*~~~

AAA Cards - CAS Game #143 - One Corner - Optional Twist: Flowers

Alphabet Challenge Blog - G is for Grunge or Glitz
no grunge, lots of glitz
Aud Sentiments Challenge Blog - Challenge #230 – Anything Goes + A Sentiment
Cardz 4 Galz - Challenge #99 Your Favourite Colour Combo
I have lots of favourites, today it is bright pink with bold black and white
Crafting By Designs - July Anything Goes Challenge
Creations In Pink - Challenge 11 – Anything Goes with Pink as the Main Colour
Die Cut Divas Challenge Blog - Anything Goes - Optional Twist of Patriotic
Inkspirational Challenges - Challenge #190 Designer's choice - Three or Five
I have added five stripes and embellished with three pearls

International Art & Soul - Challenge #61 – Stars and /or Stripes
Simon Says Stamp – Wednesday Challenge Blog - Simon Says: Anything Goes


Thursday, 30 May 2019

Tape It, Lace It or Tie It with Team Lou at the Southern Girls

It's time for another challenge with us at the Southern Girls.

This fortnight Team Lou have created projects to inspire you for the new challenge


Our generous sponsors for this challenge are


Krafters Cart


The Paper Shelter

~~~*~~~*~~~

No stamps from me today.


I have used lots of gorgeous silver sparkling deco tape from X-Press It to make the background.  The tapes are 3mm, 6mm and 12mm wide and I spaced each strip 2mm apart.  I die cut the "happy" five times and layered the black over four white ones for dimension.  The birthday die comes with a backing layer and the white made the black word pop even more against the silver strips.


Although the card is quite CAS (Clean And Simple), I layered the "happy" several times for dimension, which I think works well with the black pearls.


~~~*~~~*~~~

I'm also sharing a second card this week.
It uses some lovely lace and you can read all about it HERE.


~~~*~~~*~~~
NOW it's YOUR turn!

I hope that I have inspired you to get creative
and look forward to seeing your projects fill the gallery for

~~~*~~~*~~~


*** INGREDIENTS ***
Tombow Mono Multi Liquid Adhesive - to adhere the sentiments

~~~*~~~*~~~

Sending a big Thank You to Krafters Cart and The Paper Shelter for sponsoring our

I hope I have inspired you to get creative and look forward to seeing your work shared in the challenge gallery.  
Remember we are not just a card blog, we love to see scrapbook layouts, artjournal pages and all types of papercraft.

~~~*~~~*~~~
I am going to enter my card in the following challenges:
~~~*~~~*~~~

AAA Cards - CAS Game #141 - Our 5th Birthday Bash
what better way to celebrate than to have 5 pearls and 5 sparkling silver stripes
Allsorts Challenge Blog - Challenge 520 - Happy Birthday
It's Allsorts' 10th birthday, so my birthday card has 10 decorative elements
(5 pearls and 5 sparkling silver stripes)
Creatalicious Challenges - Challenge #163 Anything Goes
with optional no square or rectangle card
Get Creative Challenges - Challenge #80 – Anything Goes – no twist
Incy Wincy Designs - May 20 - June 1 – Embellishment
my card is embellished with sparkling silver Deco Tape and black pearls
Penny’s Paper-Crafty Challenge Blog - Challenge 432 – Anything Goes

Thursday, 9 May 2019

a "FABULOUS" birthday for our Anything Goes challenge with Team Lou at the Southern Girls

It's time for another challenge with us at the Southern Girls.

This fortnight Team Lou have created projects to inspire you for the new challenge


Our generous sponsors for this challenge are:


~~~*~~~*~~~


The image is the Birthday Girl digital stamp from Lia Stampz, one of our generous sponsors for this challenge.  No, you're not seeing things, you may remember me making a card a while ago with the sentiment "you don't look a day over FABULOUS" and this same image.  This time I have gone "opposite" with the glitter panels (dark pink to the left, light pink to the right).  It also has darker shading to the hair and cake, along with using a bundle of Cool Grey Copic markers to colour her dress and accessories, instead of the BV's used last time.

I printed the image on A5 X-Press It blending card, zapped it with my heat gun then coloured with Copic markers.  I used a white gel pen to give the pearls in her necklace some extra dimension and an ultra white finish ... it also helps cover where my markers "invaded" their pearly space.
The sentiment is a combination of fonts (Bradley Hand ITC and LW Sweetie Pie).
I made an 8" square top folding card base by scoring the top of the back panel and adhered it to the front panel.  The base is matted with textured cardstock then layered with luscious glitter cardstock.  I matted the image panel and sentiment panel with the same textured black cardstock, keeping a perfect 1/8" border by using a Perfect Layers ruler.  It is usually a challenge to keep layers securely in place when using glittered cardstock but it's not a problem with my go-to glue, Helmar 450 Quick Dry.  It's like using a hot glue gun without the "hot".  I finished off the card by die cutting a bow, using the handle of a fine brush to give a smooth curve and dimension to the loops and tails.

Here are the cards together, the old on the right, the new on the left,
maybe this year the red-heads will get these sparkling birthday wishes.


~~~*~~~*~~~
NOW it's YOUR turn!

I hope that I have inspired you to get creative
and look forward to seeing your projects fill the gallery for

~~~*~~~*~~~

*** INGREDIENTS ***
Lia Stampz - digital stamp - Birthday Girl
X-Press It - A5 blending card
Copic markers - skin - E0000-000-00-21-11
Copic markers - lips - R83-85
Copic markers - hair - E13-15-18
Copic markers - dress, feather & shoes - C00-0-1-3-5-7-9
Copic markers - cake - E30-31-23-25
Copic markers - icing & bows - RV0000 + R81-83-85-89
Copic markers - candle - RV0000 + 0
Copic markers - flame - Y11-13-15
Signo uni-ball broad pigment ink white gel pen - pearl necklace
heat tool
Kaisercraft - glitter cardstock - flamingo
Kaisercraft - glitter cardstock - candy
Sizzix Big Shot
Winnie & Walter - Take A Bow Cutaways
Perfect Layers ruler - 1/8" border for matted layers
Helmar 450 Quick Dry liquid adhesive

~~~*~~~*~~~

Sending a big Thank You to Lia Stampz and Three Button Studio for sponsoring our

I hope I have inspired you to get creative and look forward to seeing your work shared in the challenge gallery.  
Remember we are not just a card blog, we love to see scrapbook layouts, artjournal pages and all types of papercraft.


~~~*~~~*~~~
I am going to enter my card in the following challenges (alphabetical order):