Wednesday 9 September 2020

Fall Colours at the Crafty Gals Corner

It's time for another challenge with us at the

This month we are letting our creative juices flow with
Crafty Gals Corner Challenges are monthly.
Each crafter may only submit 3 projects per challenge.

~~~*~~~*~~~

The sponsor for this challenge is:


Digi Doodle Studios
Prize ~ 3 Digi Stamps

~~~*~~~*~~~

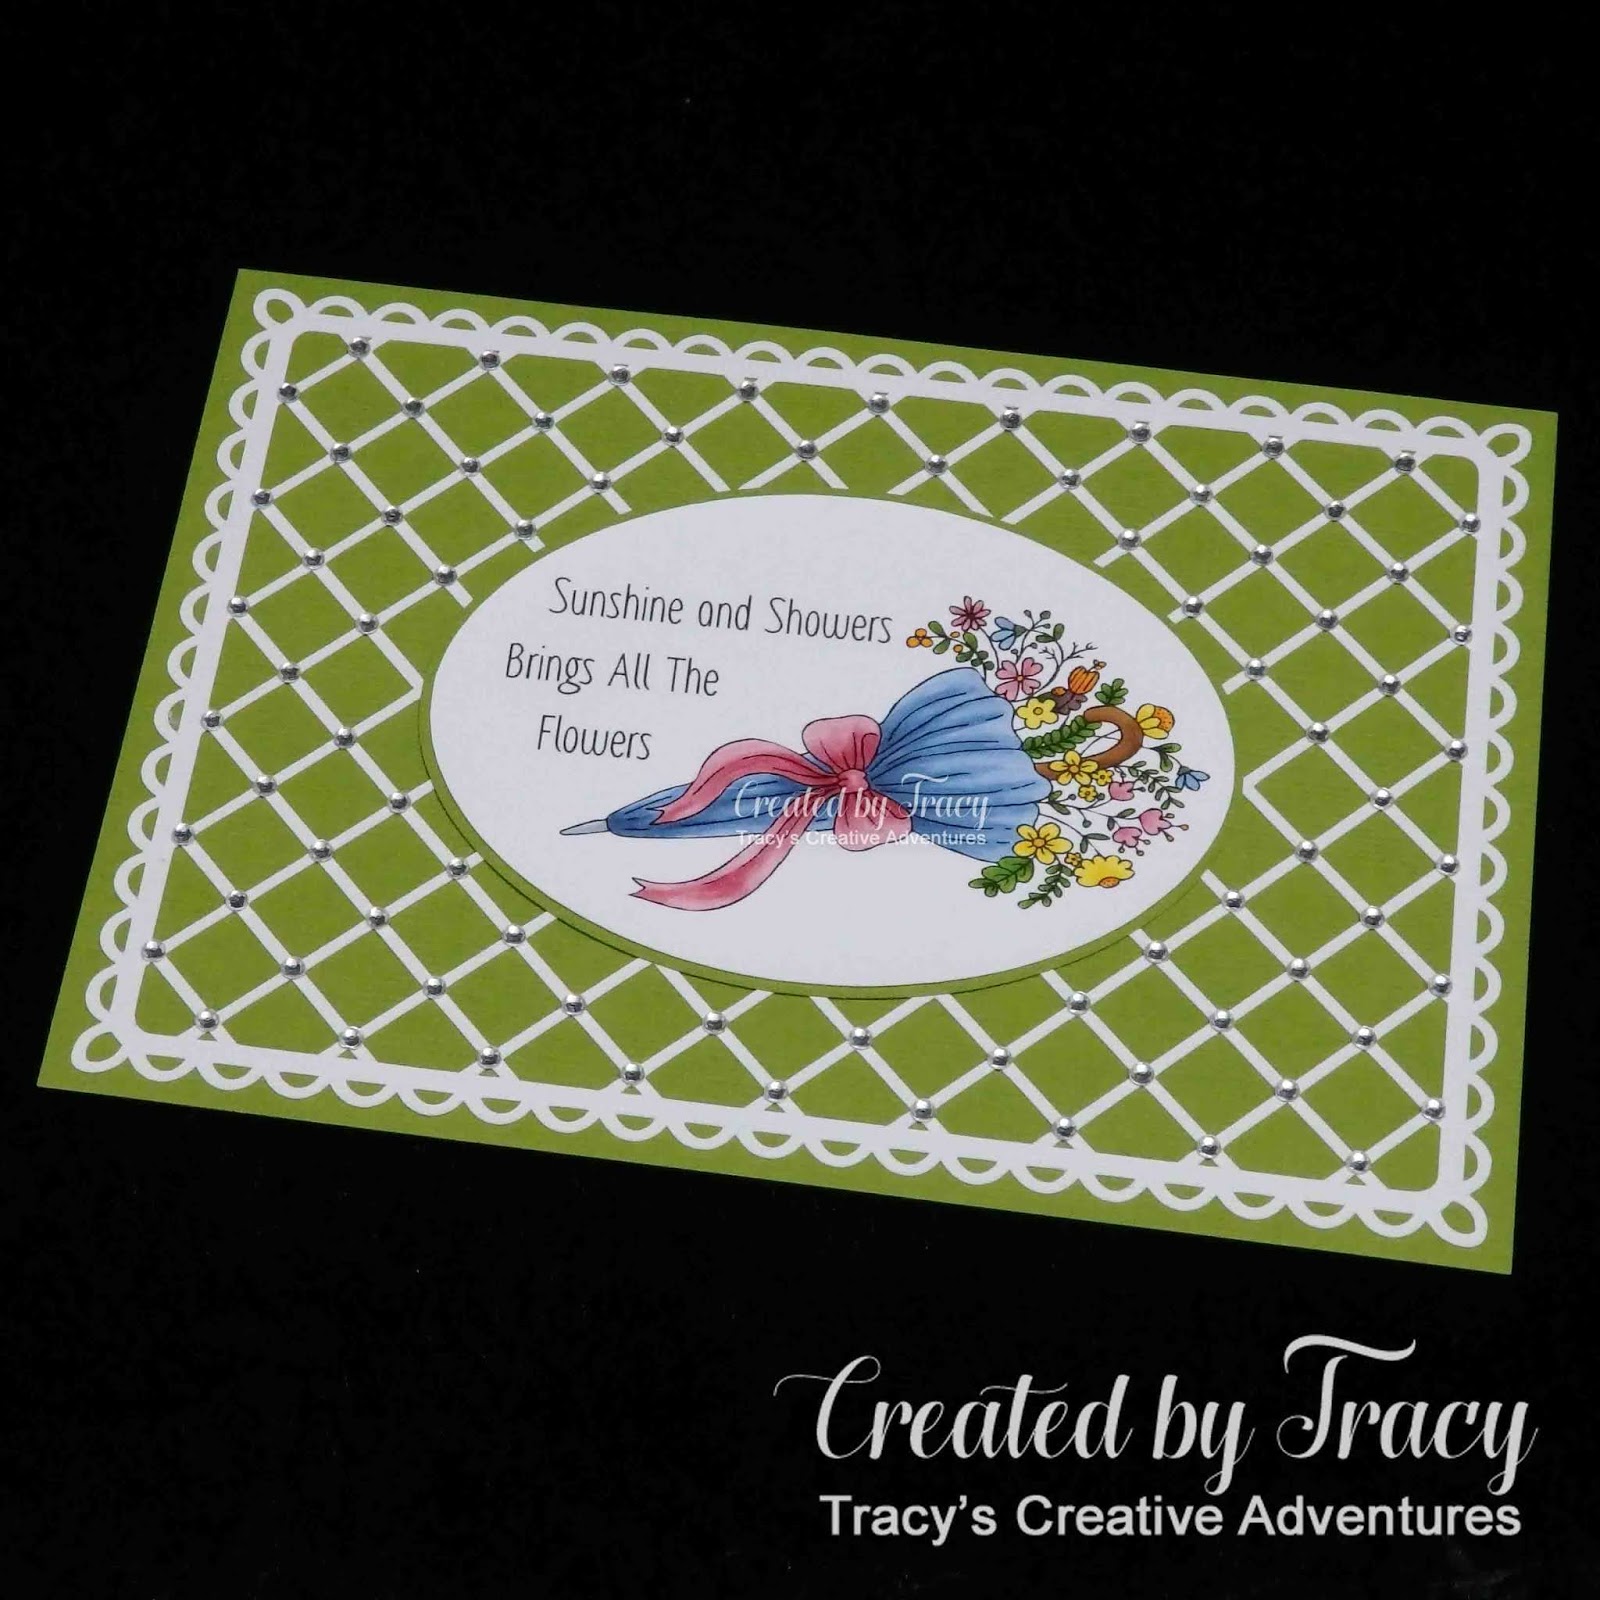
Today I have used the cute Chef Cinnamon digital stamp
from our generous sponsor,  Digi Doodle Studios.


I opened the digital stamp in Silhouette Studio, sized the image to 3 1/2" to fit inside a 4 3/8" nesting oval die.  I printed the image on X-Press It blending card, heat set, coloured with Copic markers then die cut.  I die cut a contrasting 4 3/4" scalloped stitched oval panel and adhered it to the back of the image panel.  I matted an A5 top folding card base with cardstock.  I cut another contrasting panel of cardstock and adhered a length of crochet lace to the top, then adhered the panel to the bottom of the card.  Next I adhered the matted image panel in place with a panel of foam (so that it sits neatly over the crochet panel), secured in place liquid adhesive.  I used a combination of squeeze and lever punches to punch bundles of flowers from coordinating cardstock, curling and layering them together, finishing each one off with a sparkling orange rhinestone.


~~~*~~~*~~~


NOW it's YOUR turn!
I hope that I have inspired you to get creative
and look forward to seeing your projects fill the gallery for
Crafty Gals Corner Challenges are monthly.
Each crafter may only submit 3 projects per challenge.

~~~*~~~*~~~

*** INGREDIENTS ***
Digi Doodle Studios - digital stamp - Chef Cinnamon
X-Press It A4 Blending Card
Copic markers - skin - E0000-000-00-02
Copic markers - lips/mouth - E02 + R22-24-27
Copic markers - hair - E30-31-33-35
Copic markers - clothes - YG61-63-67 + R22-24-27 + YR14-16-18 + Y35
Copic markers - chef hat - C00-0-1
Copic markers - pie - E51-53 + C0-1-3
American Crafts - 12x12 textured cardstock
Sizzix Big Shot
Kaisercraft - decorative dies - Nesting Ovals
Kaisercraft - decorative dies - Nesting Stitched Scalloped Ovals
Kaisercraft - decorative die - Decor Flourish
Fiskars - assorted squeeze & lever punches
A5 top folding card base
clear rhinestones - coloured with Copic YR18
Helmar 450 Quick Dry adhesive - to adhere the layers
Tombow Mono Multi Liquid Adhesive - to adhere the flowers

~~~*~~~*~~~
Sending a big Thank You to Digi Doodle Studios for supplying the digital stamp I used today and for being a sponsor for Challenge #211 at the Crafty Gals Corner.
    
~~~*~~~*~~~

Friday 4 September 2020

First Christmas 2020

I'm thrilled to be
~~~*~~~*~~~

The first sponsor for this challenge is:
SheepSki Designs
I have linked the sponsor product in my ingredients below.

~~~*~~~*~~~

Today I have used the Ready For Christmas digital stamp from SheepSki Designs,
one of the generous sponsors, to make a "First Christmas" card and ornament/tag.


I opened the Ready For Christmas digital stamp in Silhouette Studio, along with an ornament cut file (details below) and sized the elements to make a slimline style card with lots of layers.  I created a sentiment for the card and the back of the ornament/tag and printed the image / sentiment panels on X-Press It blending card.  I cut the round image panels with the Cameo, heat set then coloured with Copic markers.  I used the Cameo to cut the matting layers for the ornaments from glitter cardstock (first time cutting this and it cut beautifully) and the ornaments from metallic cardstock.  I cut some extra ornaments from metallic cardstock and used a scalloped square squeeze punch to make ornate toppers for the front and back of each ornament.  (My punch collection began when I started cardmaking and I am so glad I have kept them.  Even though I added a Sizzix Big Shot and a Silhouette Cameo to my stash over recent years, punches are such a handy-dandy tool.  Do you still treasure your lever, squeeze and border punches?)  I used liquid adhesive to secure all the ornament/tag layers.  The sentiment panel was manually cut (ruler + craft knife + self healing craft mat) and layered with the same cardstock to match the ornaments.  The silver glitter cardstock is 1/8", the metallic cardstock is 1/32".  I made the card base from an A4 sheet of heavy white cardstock, trimming down the left over bit from the sheet to make the front panel of the card.  I matted the panel to match the ornaments and sentiment panels.  I used liquid adhesive to secure all the layers to the card, adding some thin foam squares behind the ornament so that it could "straddle" the sentiment strip and sit flat on the card.


Here is the front of the ornament / tag . . .


. . . and here is the back of the ornament / tag.


 . . . and here they are together again . . .


~~~*~~~*~~~

Here is a tip for punching small items with your squeeze punches.
Tape your item to be punched to a larger piece of cardstock
and hold the cardstock to align the piece for perfect punching.


~~~*~~~*~~~

NOW it's YOUR turn!

I hope that I have inspired you to get creative
and look forward to seeing your projects fill the gallery for

~~~*~~~*~~~

*** INGREDIENTS ***
SheepSki Designs - digital stamp - Ready For Christmas
X-Press It A4 Blending Card
Copic markers - Mother elephant - T0-1-3-5
Copic markers - Baby elephant - C00-0-1-3 + R000-00-01
Copic markers - ornament - R22-24-27 + YR24-27
Copic markers - shadows - W00-0-1
silver glitter cardstock
metallic grey cardstock
Silhouette Cameo
Silhouette Design Store - Design ID 230792
Christmas Ornament / Tag - Rocking Horse by Alaa K
This is no longer in the store but Alaa has several similar designs
Fiskars - scalloped square squeeze punch - top of ornament
ribbon
Helmar 450 Quick Dry adhesive - to adhere the layers

~~~*~~~*~~~
Sending a big Thank You to SheepSki Designs for supplying the digital stamp I used today and to Claudia for inviting me to be Guest Designer on the Rabisco Challenge Blog.
    
~~~*~~~*~~~
I am going to enter my card in the following challenges:
~~~*~~~*~~~

2 Crafty Critter Crazies - Challenge #42 - Anything with a Critter Goes

A Gem Of A Challenge - Wk 18 – Anything Goes
A Perfect Time To Craft - September Challenge #9 – Anything Goes
Allsorts Challenge Blog - Week 587 - Going Round In Circles
As You Like It Challenge - Favourite way to add ribbon (and why)
I confess, I'm a bit of a ribbon collector.  I'm not so good at using them, so in reality I'm a ribbon hoarder.  I find it a challenge to make pretty bows, so my favourite way of using ribbon is to loop it and tie a knot, just like I have on the ornament on my card and my ornament/tag, pretty sparkling ribbon without suffering wonky bow stress.
Aud Sentiments Challenge Blog - Challenge #259 – Anything Goes + A Sentiment
Classic Design Challenge Blog - September Challenge #9 – Anything Goes
Colour Crazy Challenge - Week 34 – Anything Goes
Crafty Catz - Challenge 517 - Anything Goes-optional twist: Not A Square
Crafty Sentiments Designs Challenge Blog - Anything Goes 1st September
De Egel - August Challenge #104 – No Patterned Paper
Die Cut Divas Challenge Blog - September Challenge – All Kinds Of Holidays
Digi Choosday Craft Challenge - Week 35 – Anything Goes
International Art & Soul - Challenge #91 – Include An Animal
Jan’s Digi Stamps Challenge Blog - Challenge #15 – August Anything Goes
Polkadoodles Craft Challenge - Wk 35 – Anything Goes
SheepSki Designs Challenges – Challenge #42 - Use Layers
The 12 Months Of Christmas Link Up - Challenge 69 – Anything Christmas Goes
optional twist: Say It With A Sentiment
Through The Craft Room Door - TTCRD Anything Goes 1st September


Wednesday 2 September 2020

. . . more Sunshine and Showers . . .

It's time for a new challenge with us on the
As always, the challenge is Anything Goes.

~~~*~~~*~~~

The sponsors for this challenge are:

~~~*~~~*~~~

Today I have used the Floral Umbrella digital stamp set from Twinkle Lane Designs,
one of our generous sponsors for this challenge.

I opened the Floral Umbrella digital stamp in Silhouette Studio
to start planning my card designs.


My card is 5 1/2" wide x 3 3/4" high.

I used a purchased oval doily cut file (details below) to make this fancy shaped card.  I added an offset layer to make the background.  I made an extra two background layers, flipped one then welded them together to make a top folding card.  I used the oval from the middle of the doily (made a copy and released the compound path) to make a matting layer then made an internal offset for the image panel.  I sized the image to fit inside the oval.  This digital stamp comes with a sentiment, so I "cut" the sentiment apart so that I could fit the phase neatly inside the oval panel.  I printed the image panel on X-Press It blending card, heat set and cut with the Cameo then coloured with Copic markers.  I cut the ornate matting panel, oval matting layer for the image panel and the card base with the Cameo.  I used liquid adhesive to secure all the layers in place.


I love fancy shaped cards, especially when they stand up
without needing an easel to hold them.


My other card is 7" x 5" and has a delicate lattice and lots of sparkling rhinestones.
Full details can be found HERE
or by clicking on the photo below.


~~~*~~~*~~~


NOW it's YOUR turn!

I hope that I have inspired you to get creative
and look forward to seeing your projects fill the gallery for
Penny's Challenge 479
on the
Penny's Paper-Crafty Challenge Blog

~~~*~~~*~~~

*** INGREDIENTS ***
Twinkle Lane Designs - digital stamp - Floral Umbrella
X-Press It A4 Blending Card
Copic markers - umbrella - B91-93-95-97
Copic markers - umbrella - bow - R81-83-85
Copic markers - umbrella - tip - C1-3-5
Copic markers - umbrella - handle - E35-37
Copic markers - flowers & foliage - YR04-07 + YG25-63-67 + B's & R's above
Silhouette Cameo
Silhouette Design Store Design ID #4104 - sorry no longer in store
Oval Doily - Jamie Koay - offset layer added
Helmar 450 Quick Dry adhesive - to adhere the layers
Tombow Mono Multi Liquid Adhesive - to adhere the delicate layers

~~~*~~~*~~~
Sending a big Thank You to Twinkle Lane Designs for supplying the digital stamp I used today and for being a sponsor for Challenge 479 on Penny's Paper-Crafty Challenge Blog.
    
~~~*~~~*~~~
I am going to enter my "sparkling lattice" card in the following challenges:
As You Like It Challenge - Favourite way to add ribbon (and why)
I confess, I'm a bit of a ribbon collector.  I'm not so good at using them, so in reality I'm a ribbon hoarder.  I find it a challenge to make pretty bows, so one of my favourite ways of using ribbon is to loop it and tie a knot with no wonky bow stress.  My other favourite way to add ribbons is colouring digital images of ribbons, using my Copic markers to add shading and dimension like I have in this card.  The added bonus of adding "coloured" ribbon is there is no bulk, perfect for mailing with no lumps and bumps to get caught in the sorting machines.
Crafty Sentiments Designs Challenge Blog - Anything Goes 1st September

~~~*~~~*~~~

2020 has been filled with lots of surprising challenges and sadly I have to announce that this is my last project with the talented team on the Penny's Paper-Crafty Challenge Blog.  It has been a wonderful experience being part of this Design Team, I have appreciated the opportunity to create with you all and wish you all every happiness for the future.  Thank You for all the fun and creative adventures.

Sunshine and Showers . . .

It's time for a new challenge with us on the
As always, the challenge is Anything Goes.

~~~*~~~*~~~

The sponsors for this challenge are:

~~~*~~~*~~~

Today I have used the Floral Umbrella digital stamp set from Twinkle Lane Designs,
one of our generous sponsors for this challenge.

I opened the Floral Umbrella digital stamp in Silhouette Studio
to start planning my card designs.


The first card is 7" x 5" and has a delicate lattice smothered with sparkling rhinestones.  I used the front panel of a purchased cut file (details & link below) to make the main matting layer of my card.  I created an oval to fit over the middle panel then sized the image to fit inside.  This digital stamp comes with a sentiment, so I "cut" the sentiment apart so that I could fit the phase neatly inside the oval panel.  I printed the image panel on X-Press It blending card, heat set and cut with the Cameo then coloured with Copic markers.  I made a 7" x 5" card base from textured cardstock.  I cut the lattice matting panel and an oval matting layer for the image panel with the Cameo.  I used liquid adhesive to secure all the layers in place, finishing off the card with lots and lots of sparkling clear rhinestones.


This bling was a labour of love as I have run out of single rhinestones.  I had to trim the excess adhesive from each side of the rhinestones on long strips and yes, I made a mess with little bits of adhesive and backing plastic everywhere but it was well worth the effort.


The second card is 5 1/2" wide x 3 3/4" high.
Full details can be found HERE
or by clicking on the photo below.


~~~*~~~*~~~


NOW it's YOUR turn!

I hope that I have inspired you to get creative
and look forward to seeing your projects fill the gallery for
Penny's Challenge 479
on the
Penny's Paper-Crafty Challenge Blog

~~~*~~~*~~~

*** INGREDIENTS ***
Twinkle Lane Designs - digital stamp - Floral Umbrella
X-Press It A4 Blending Card
Copic markers - umbrella - B91-93-95-97
Copic markers - umbrella - bow - R81-83-85
Copic markers - umbrella - tip - C1-3-5
Copic markers - umbrella - handle - E35-37
Copic markers - flowers & foliage - YR04-07 + YG25-63-67 + B's & R's above
Silhouette Cameo
Silhouette Design Store - Design ID #322860
Frame Venice Lace Oval Card by Snapdragon Snippets
clear rhinestone strips
Helmar 450 Quick Dry adhesive - to adhere the layers
Tombow Mono Multi Liquid Adhesive - to adhere the delicate layers

~~~*~~~*~~~
Sending a big Thank You to Twinkle Lane Designs for supplying the digital stamp I used today and for being a sponsor for Challenge 479 on Penny's Paper-Crafty Challenge Blog.
    
~~~*~~~*~~~
I am going to enter my "sparkling lattice" card in the following challenges:
~~~*~~~*~~~

As You Like It Challenge - Favourite way to add ribbon (and why)
I confess, I'm a bit of a ribbon collector.  I'm not so good at using them, so in reality I'm a ribbon hoarder.  I find it a challenge to make pretty bows, so one of my favourite ways of using ribbon is to loop it and tie a knot with no wonky bow stress.  My other favourite way to add ribbons is colouring digital images of ribbons, using my Copic markers to add shading and dimension like I have in this card.  The added bonus of adding "coloured" ribbon is there is no bulk, perfect for mailing with no lumps and bumps to get caught in the sorting machines.
~~~*~~~*~~~

2020 has been filled with lots of surprising challenges and sadly I have to announce that this is my last project with the talented team on the Penny's Paper-Crafty Challenge Blog.  It has been a wonderful experience being part of this Design Team, I have appreciated the opportunity to create with you all and wish you all every happiness for the future.  Thank You for all the fun and creative adventures.