Wednesday, 3 August 2016

Crafty Gals Corner Challenge #83 - Birthdays / Celebrate

It's time for another challenge on the Crafty Gals Corner Blog.
Challenge #83 Birthdays / Celebrate

Today I have used the Gabbie Birthday Fairy digital stamp from Faery Ink,
one of our fabulous sponsors for the challenge this week.

This cute image comes with and without balloons.
Today I have gone without the balloons, adding die cut ones separately.


I coloured Gabbie using Copic markers, using Wink Of Stella Glitter Pens for the cupcake and hair bow.  I used a very delicate shade for the wings, adding sparkle with Clear Wink Of Stella Brush Pen.

What do you think?  Does she need red lipstick?  Do they need to sparkle?


 Here is a close-up to show her sparkling wings & cupcake and her shimmering silver pendant.

~~~ INGREDIENTS ~~~
Faery Ink - Gabbie Birthday Fairy digital stamp
Copic markers - face & body -E50 YR20 R01
Copic markers - eyes - G43 G46 and a dot of "0"
Copic markers - hair - E11 E13 E15 E18
Copic markers - clothes - BV01 BV04 BV13
Copic markers - wings - BV0000
Copic markers - gap between neck & right wing - R46
Copic markers - cupcake wrapper  & candle - RV52 RV55
Copic markers - candle flame - YR06 YR68 R46
Zig Wink Of Stella Glitter Pens - Violet (bow) Light Pink (icing), Yellow (sprinkles), Red (heart sprinkles)
Zig Wink Of Stella - Glitter Brush Tip Marker - Clear - for the wings
Canson A4 Coloured Cardstock - Red
Kaisercraft 6x6" Made With Love Paper Pad
Spellbinders nestabilities - Labels Forty
Paper Smooches - Balloons dies
Copic markers - balloon strings - Y21
Copic markers - balloons - RV52 RV55 YR12 Y21
~~~*~~~*~~~
Sending a big Thank You to Faery Ink for supplying the digital stamp I used today and for sponsoring Challenge #83 with the Crafty Gals Corner.


~~~*~~~*~~~
... I just couldn't resist adding a couple more photos ...
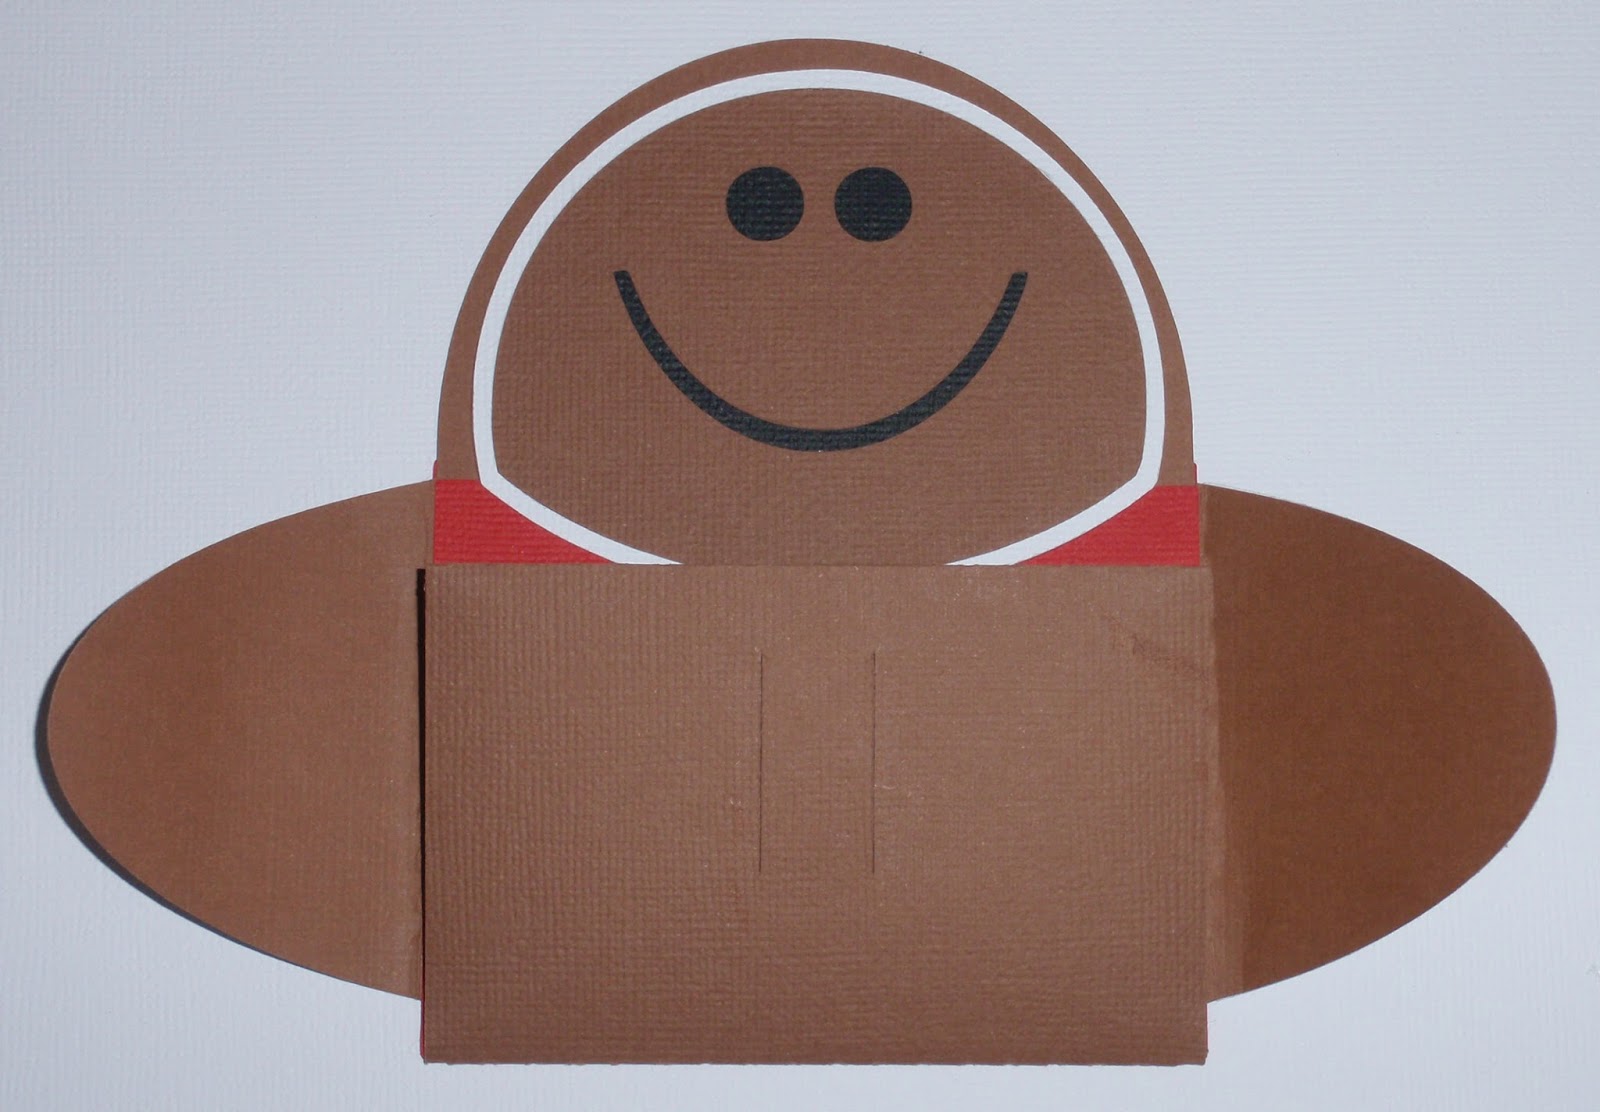
Front - closed view
 
Front - inside view

~~~*~~~*~~~
I am going to enter my card in the following challenges
~~~*~~~*~~~
with Kathy Racoosin from The Daily Marker
#thedailymarker30days

I have shared the details about the 30 Day Coloring Challenge HERE on my blog.

~~~*~~~*~~~
The SSS Monday Challenge Blog is celebrating their 6th anniversary this week
   
~~~*~~~*~~~

Work It Wednesday July 2016
The challenge this month is to use the August birthstone, peridot.
I have used two greens to colour Gabbie's beautiful big eyes.
    

~~~*~~~*~~~


Tuesday, 2 August 2016

Mermaid Kisses

A few days ago I shared this card and promised to share about my colouring adventures.


I'm pretty new to Copic Markers and found them fascinating to work with.
The brush tips of the Sketch and Ciao markers are a real pleasure to use, where you can apply a thick, luscious line of colour down to the tiniest of points.
I did find that some of the markers are "juicier" than others and soon learned the colours to go extra careful with, as it was ever-so-easy to saturate the paper and get bleeding.  This was especially true for the black marker I used to go around the edges after I fussy cut the image out.


I used a white Sakura GELLY ROLL pen to make the pearls in her hair and earings really POP.  It was a challenge to do the smallest ones and confess that I used my piercing tool to drag off the excess when I went over the lines.  I went over the lines with a black 0.05 Copic Multi Liner and it seemed to work just fine "WHEN" I allowed everything to dry out ... it got messy if the white gel pen was still wet or if the background hair was already saturated.
=> the biggest lesson I take away is to
BE PATIENT
... it gets so exciting when the colours are blending but if you go too fast colours bleed and go where you really don't want them to!!!

Here is the sheet I used to test colour combinations

Three little mermaids ... and only one good enough to use ...


NOW for the grzzly details.
I was too impatient with this one.  I started to add black to the fussy cut edges and her ear was still "wet" from colouring, so the black ink bled.  I tried to mute it down with the colourless blended but it went quite murky and wet.  I was worried that if it got too saturated, that it would affect further into her face and hair.
What do you think, try the colourless blender again, let it dry then shade her ear darker to try and cover it?
 

ANOTHER example of being too impatient ... or maybe it was not being careful with an ultra juicy black marker?  I had finished colouring her in and was going around the fussy cut edges with a black marker.  Once I was done I saw this horrid black squiggly bit low in her face, just to the right of where the turtle is kissing her.  It must have smeared from my fingers as I held her to colour around all of the delicate edges.  I tried repeatedly to remove it with the colourless blender but it didn't seem to make much of a difference, apart from a growing "zone" of fading skin.  As you can see, I did try to blend over it with a darker shade but it still keeps jumping out at me.
What do you think, keep working on covering it with a darker shade?  Will the darker skin make her face and hair too similar?

I hope you enjoyed learning about my colouring mis-adventures.
... I sure did!

So, now is the time to finish on a more positive note and see some close-up photos of my card showing the super cute mermaid kissing the turtle and of her tail.  You can't see it as well as I had hoped, but the white has a delicate dimension.
The lights were a little bright and sadly the colouring looks bleeched in this photo, making it difficult to see her delicate rosy cheeks.

The gorgeous sparkle on the tail is from a combination of Clear Zig Wink Of Stella Brush Marker and Zig Wink Of Stella Glitter Pens applied after colouring with Copic Markers.

~~~ INGREDIENTS ~~~
Aurora Wings - digital stamp - Sea Turtle Kiss
Copic Markers - face - E50 YR20 R01
Copic Markers - hair - E11 E13 E15 E18
Copic Markers - tail - BG10 BG11 BG13 G02
Copic Markers - turtle - YR12 E18 YR68 R46 V09
Copic Marker - tiny space between mermaid & turtle - B12
Zig Wink Of Stella Glitter Pen - bikini top - pink and dark pink
Zig Wink Of Stella Glitter Pen - starfish on mermaid tail - yellow
Zig Wink Of Stella Glitter Pen - accents on mermaid tail - green
Copic Multiliner - edges to fussy cut image - 0.3 Black
Copic Multiliner - circles around the pearls - 0.05 Black
Zig Wink of Stella Clear Brush - sparkle accent to mermaid tail
Sakura white GELLY ROLL pen - pearls in hair & earings
Canson Coloured Card A4 - Sky BluePrimary Blue and Azure Blue
Fiskars XXL Tag Lever Punch - sentiment panel
Fiskars border punch - Boundary Waters
Pretty Pink Posh - Sparkling Clear Sequins - 4mm, 6mm and 8mm

~~~*~~~*~~~
I am going to enter my card in the following challenges
~~~*~~~*~~~
with Kathy Racoosin from The Daily Marker
#thedailymarker30days


I have shared the details about the 30 Day Coloring Challenge HERE on my blog.

~~~*~~~*~~~

Lawn Fawn products are being showcased this week but I have to confess that I don't have any in my stash ... so my compromise is to use this cute digital mermaid while thinking of the "Mermaid For You" stamp set by Lawn Fawn :)
  

~~~*~~~*~~~

Monday, 1 August 2016

Thinking of you . . . another Beauty Flower

no, you're not seeing things, I have used this beautiful digital image before
(see HERE and  HERE).

Sadly I had to use that card to send our sympathy last week and found that it suited the moment perfectly, so I made this another one, so that I had one ready and waiting for when it was needed.  There is nothing harder to do than make a sympathy card while in mourning.


The image is the Beauty Flower digital stamp
from Sami Stamps Shop and coloured it with Copic markers.
I popped the flower panel with some foam sheet for added dimension,
keeping the design quite plain and elegant, in keeping with sympathy wishes.


~~~*~~~*~~~

Ingredients:
155mm square white card base
Sami Stamps Shop - digital stamp - Beauty Flower
Copic Markers:
flower - V20 V22 V25
stamen - Y19
leaf - G40 G43 G82
little fixes - Colorless Blender 0
MISTI
Altenew Bejeweled stamp set - sentiment
Memento Tuxedo Black ink
WOW! Super Fine Clear Gloss embossing powder
American Crafts ZAP! Heat Gun
Perfect Layers Rulers - 1/16" and 1/8"
foam sheet - dimension under the floral panel

~~~*~~~*~~~
I have entered my card in the following challenges
~~~*~~~*~~~

Sami Stamps Blog
Challenge #039 - Anything Goes
I have used the Beauty Flower digital stamp from Sami Stamps.
    

~~~*~~~*~~~

with Kathy Racoosin from The Daily Marker
#thedailymarker30days


I have shared the details about the 30 Day Coloring Challenge HERE on my blog.

~~~*~~~*~~~


~~~*~~~*~~~

Saturday, 30 July 2016

. . . head on over to the Paper Smooches Blog for the August 2016 release Blog Hop

It's Pep Rally Week on the Paper Smooches Blog.
Kim and the DT are sharing fun and fabulous projects using the
one new stamp set and five new dies from the August 2016 release,
 
CREATIVE INSPIRATION

CRAFTY TEMPTATION

AND the chance to WIN
one of FOUR $25 Paper Smooches gift certificates too!!!
AWESOME!!!

Head on over to the
Paper Smooches Blog
and get hopping now,
GOOD LUCK :)

Here are some links to their store if you want to check out all the crafty delights they have to tempt and inspire:
    

MORE Christmas Heels

I was so grateful to get such sweet feedback about my original Christmas Heels card (details here) that I thought I would make another one to go on an overseas adventure in time for Christmas.


This time I was much more experienced with using Glossy Accents.  I used my piercing tool to apply and drag the liquid into the finest of points.  I also applied a thicker coat to give (hopefully) a glossier, more even finish.  After being disappointed with the slight "cracking" at some of the edges when I fussy cut the last pair, I fussy cut the image before applying it this time.

... looking at this close-up, I'm thinking that I should make some more holly leaves and pop them for some extra dimension and "smooth" the edge where it touches the Glossy Accents => added it to my to-do list.

I used the black sentiment to tie in with the black of the image outline but this time I layered the "christmas" with a glossy red, so that the black became a shadow.

What do you think, better with or without the red layer?
Should I add it to the "happy" too?
Stick with just the black next time?
... I'm sure I will be making some more of these and look forward to your feedback.


Ingredients:
Bugaboo Stamps - digital stamp - Christmas Heels
Copic Markers - R46 Strong Red, G 46 Mistletoe and C100 Black
Zig Wink Of Stella - Glitter Pens - Green and Light Green
Paper Smooches dies - Christmas Words 2
Glossy Accents
Piercing tool
Zig Wink Of Stella Glitter Brush - White
Mont Marte Metallic Fine Liner
Kaisercraft 6 1/2" Paper Pad - Mint Twist
red rhinestones
Foam Dots - under shoes & one holly leaf
Helmar 450 Quick Dry - liquid adhesive - used on patterned papers
Tombow Mono Multi - liquid adhesive - used to adhere sentiment & holly leaves

~~~*~~~*~~~
I am going to enter my card in the following challenges
~~~*~~~*~~~


~~~*~~~*~~~

with Kathy Racoosin from The Daily Marker
#thedailymarker30days


I have shared the details about the 30 Day Coloring Challenge HERE on my blog.

~~~*~~~*~~~


~~~*~~~*~~~

Friday, 29 July 2016

Peppermint Candy with a twist . . . and no added sugar

Yes, it's beginning to look a lot like Christmas!

This is a huge peppermint candy swirl with a gift card hidden inside.
(it is just over 5" across and just over 7" long)


One end of the wrapper slides out to reveal the gift card hidden inside.


There is a hole in the base of the slider, so that you can easily poke the gift card out.


There are five layers inside the body of the peppermint candy that make the slot deep enough for the gift card and "end wrapper slider" to fit in easily.
The "slider" has a base and three layers to make a little cavity that holds the gift card securely inside.


~~~ INGREDIENTS ~~~
Silhouette Cameo
Peppermint Candy Hidden Gift Card - cut file
by Snapdragon Snippets from the Silhouette Design Store
Textured Cardstock - American Crafts Value Pack
Helmar 450 Quick Dry - liquid adhesive
Twine

~~~*~~~*~~~
I am going to enter my Peppermint Candy Gift Card Holder in the following challenges
~~~*~~~*~~~


~~~*~~~*~~~

Gingerbread Man Hugs


What do you think of this Gingerbread Man Hugs Gift Card Holder?
Super cute isn't he?

An adorable smile and sweet icing trim.

Here is what he looks like with his arms closed.
 

This pic shows his arms opened, you can see the slits in the middle where his hands tuck in to close securely.

 Fully open view of his front and back.
His vest is so cute and fits snuggly.


He is much bigger than he looks, standing just over 10 1/4" tall and just over 7 1/2" wide when fully open.  When fully closed he is just over 5 1/4" tall and 3 3/4" wide.

 Open view showing how the gift card fits in the pocket in his tummy.

~~~ INGREDIENTS ~~~
Silhouette Cameo
Textured Cardstock - American Crafts Value Pack
Twine
Helmar 450 Quick Dry - liquid adhesive - larger pieces
Tombow Mono Multi - liquid adhesive - smaller pieces, including the "icing"

~~~*~~~*~~~
I am going to enter my little Gingerbread Man in the following challenges
~~~*~~~*~~~


~~~*~~~*~~~